What does someone choose to make for their first homebrew? This is perhaps both the most important and the least important decision facing new homebrewers. What I mean by that is on one hand there are certainly some homebrew recipes that are more challenging to get right than others, especially when you have only vague ideas of what you’re actually supposed to be doing in the first place, but on the other hand I have to imagine that, for the first few brews at least, the more important byproduct of your efforts isn’t beer, but rather the experience you gain by doing it. So what did I end up deciding to make as brew numero uno? Well… I mean it’s in the title so I would hope you already know by now but… none other than the (famous?) Baldwin St. Bohemian Pilsner!
Why choose this beer to start with? I’ll be completely honest here and say I chose this recipe for two reasons:
- It is a lighter coloured beer, so if it turns out bad I can just blame it on being a “weak” light beer
- My beer preferences tend to be something a little bit more on the IPA/stout side of things and I really didn’t want to screw up one of those and leave a bad taste in my mouth for those styles (both figuratively and literally)
Now obviously neither of those reasons makes any sense. In fact I’m pretty sure #1 is just completely wrong and if I had gone with #2 I could have at least learned what I did/didn’t like and iterate on that to get closer to my perfect beer. Alas, I’m an idiot.
After deciding on the perceived “safe” bet of a Bohemian Pilsner, I did an equipment and ingredient check, made sure I had enough time to do this and got started!
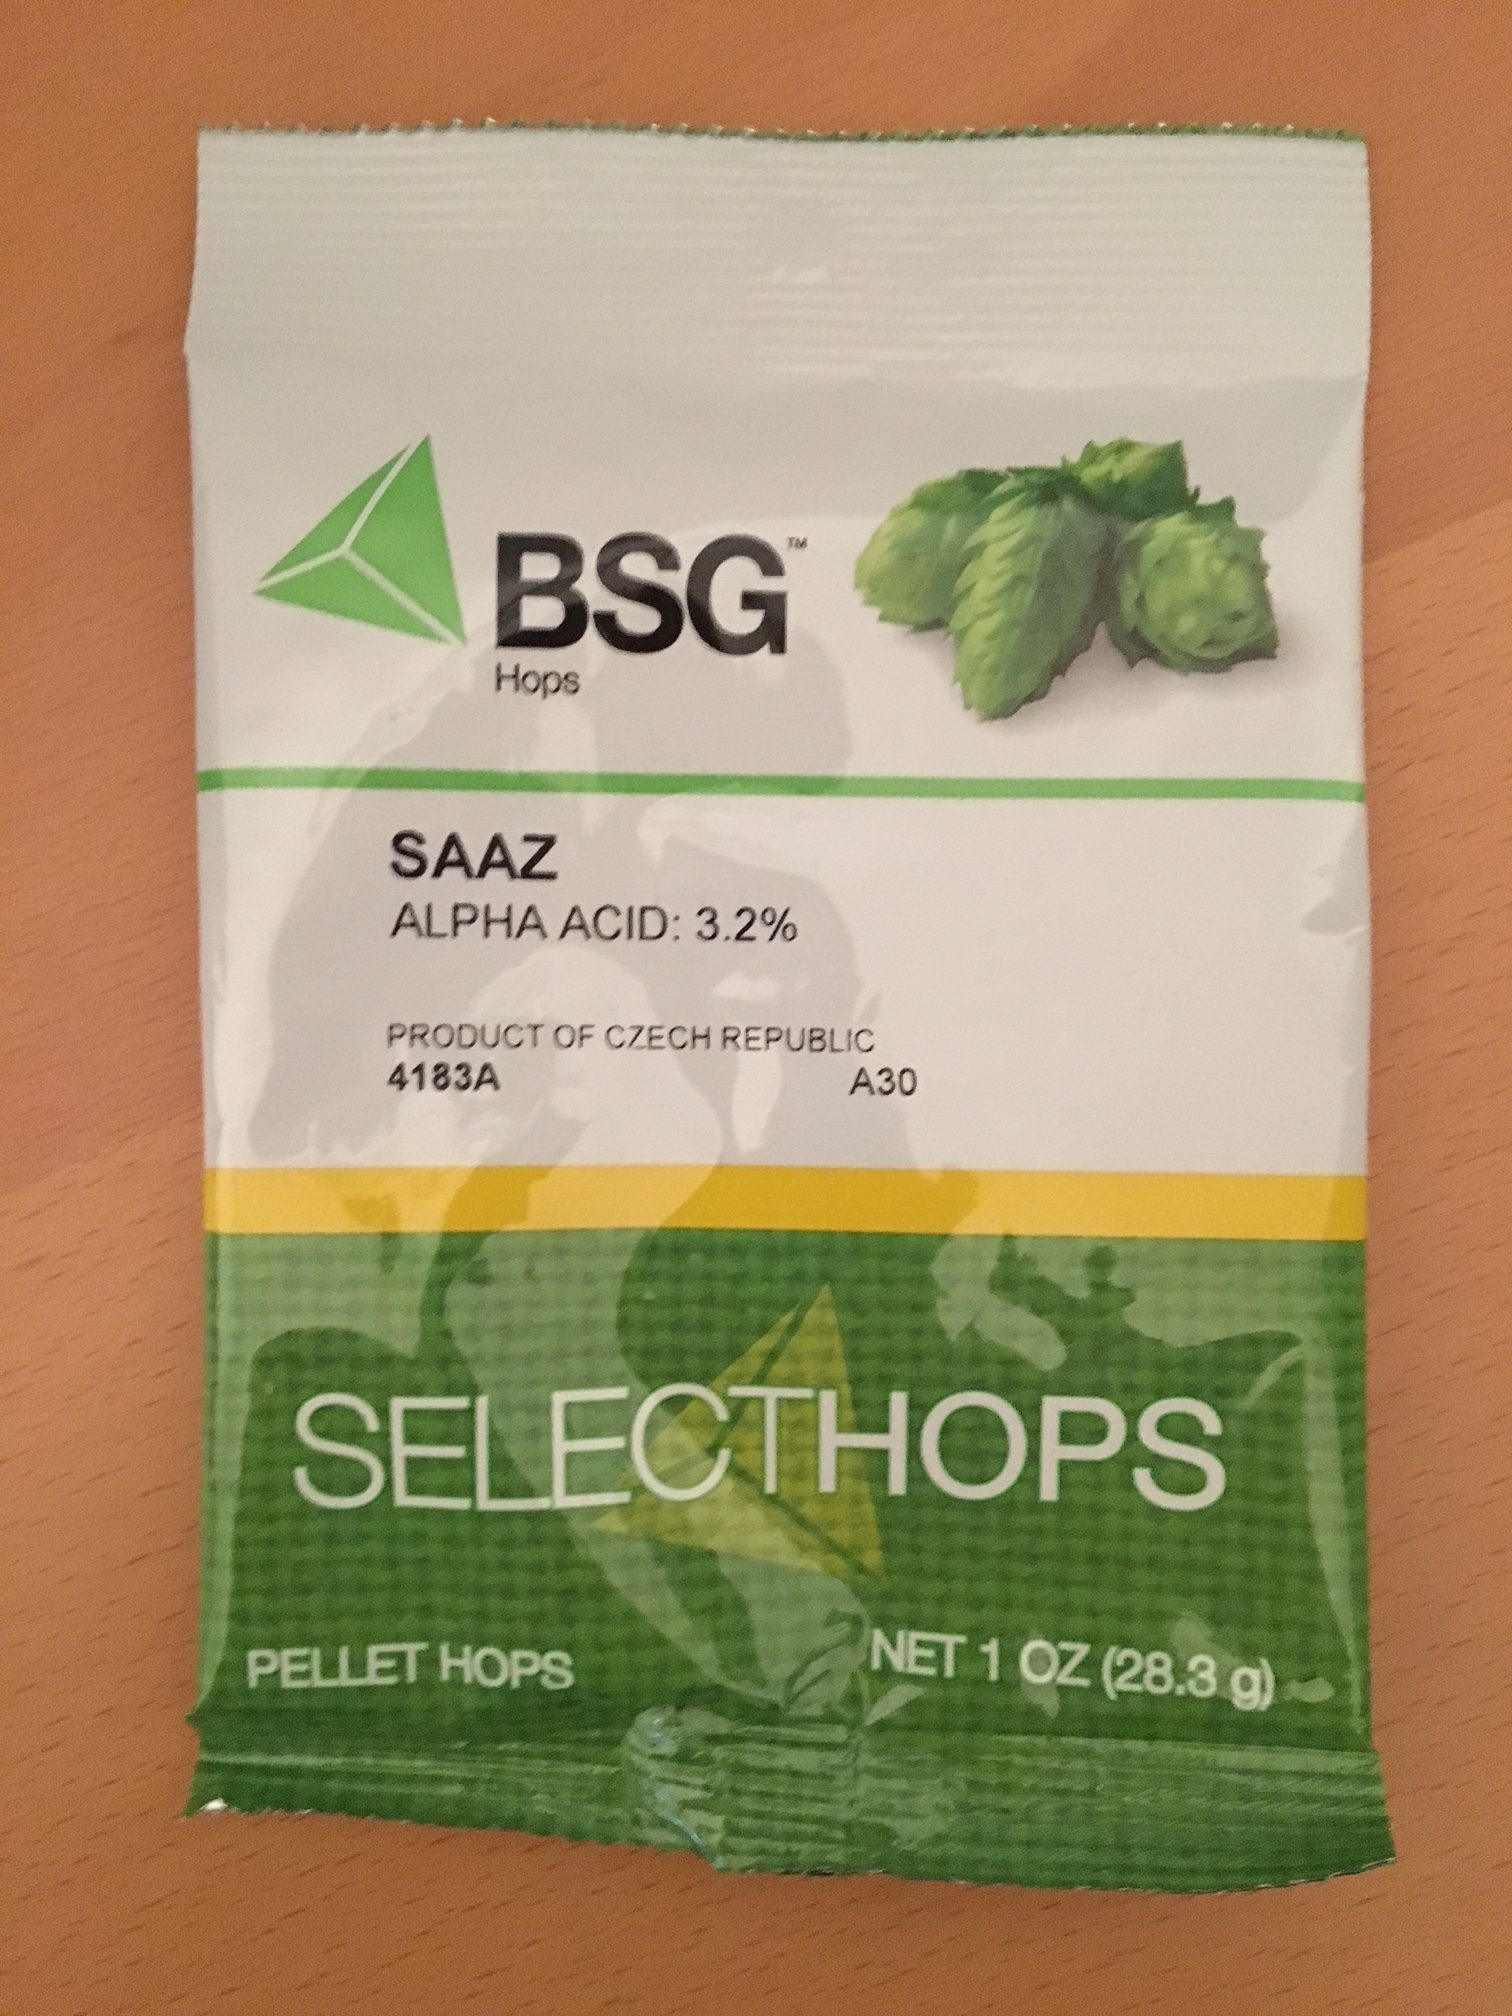
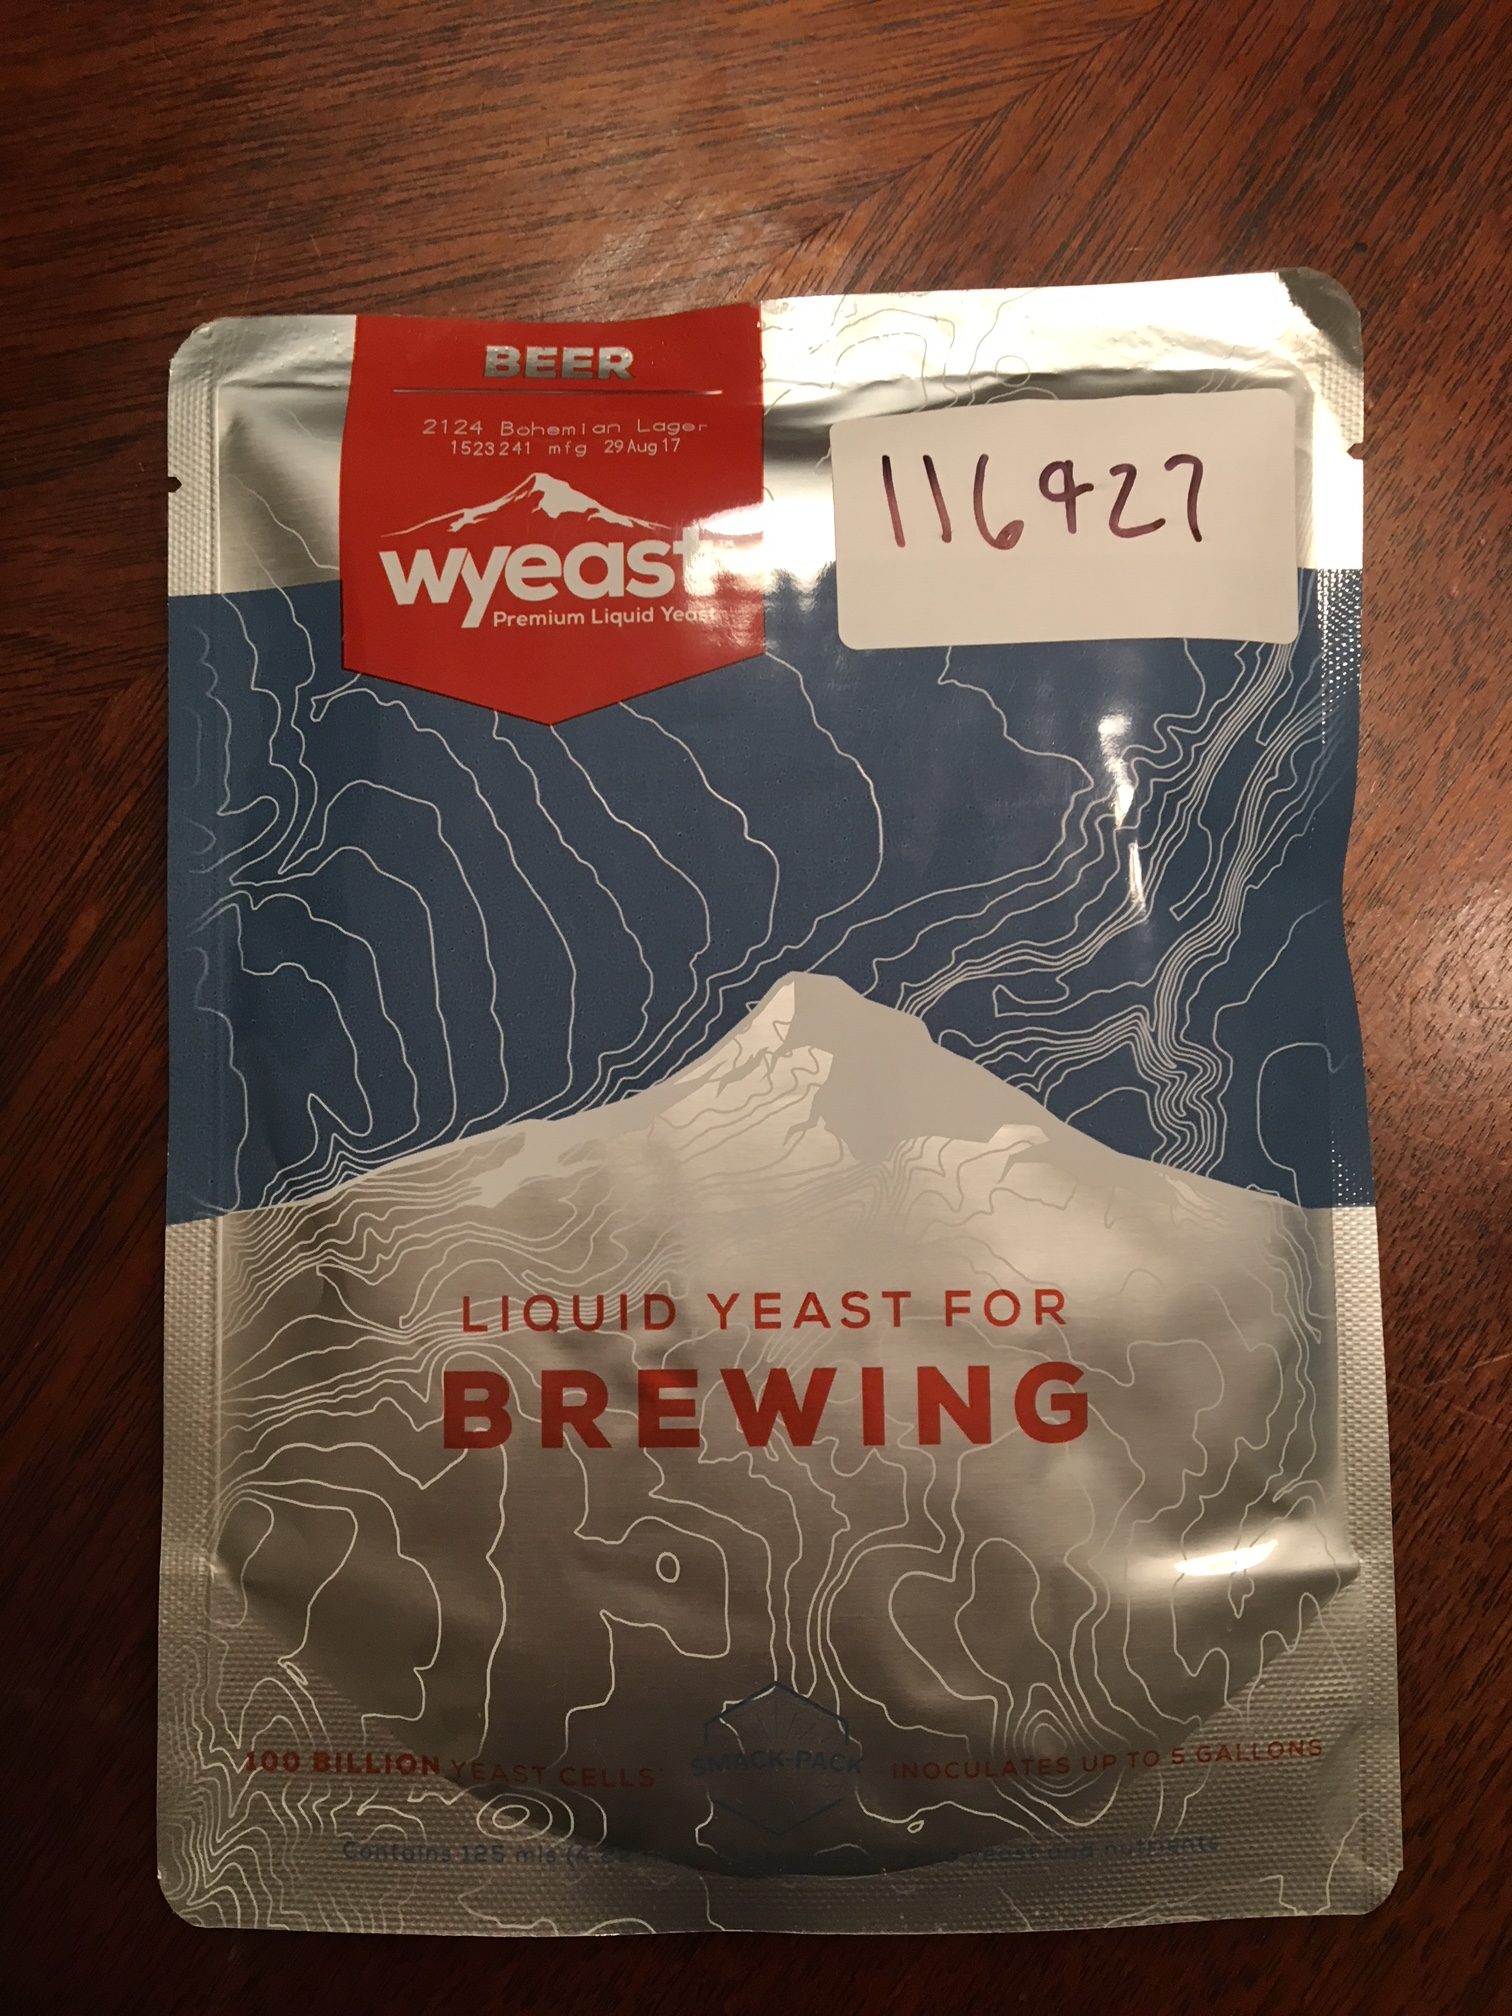
In my previous post I went over the equipment I had on hand (check it out here if you’re interested) but for this recipe I needed the following ingredients:
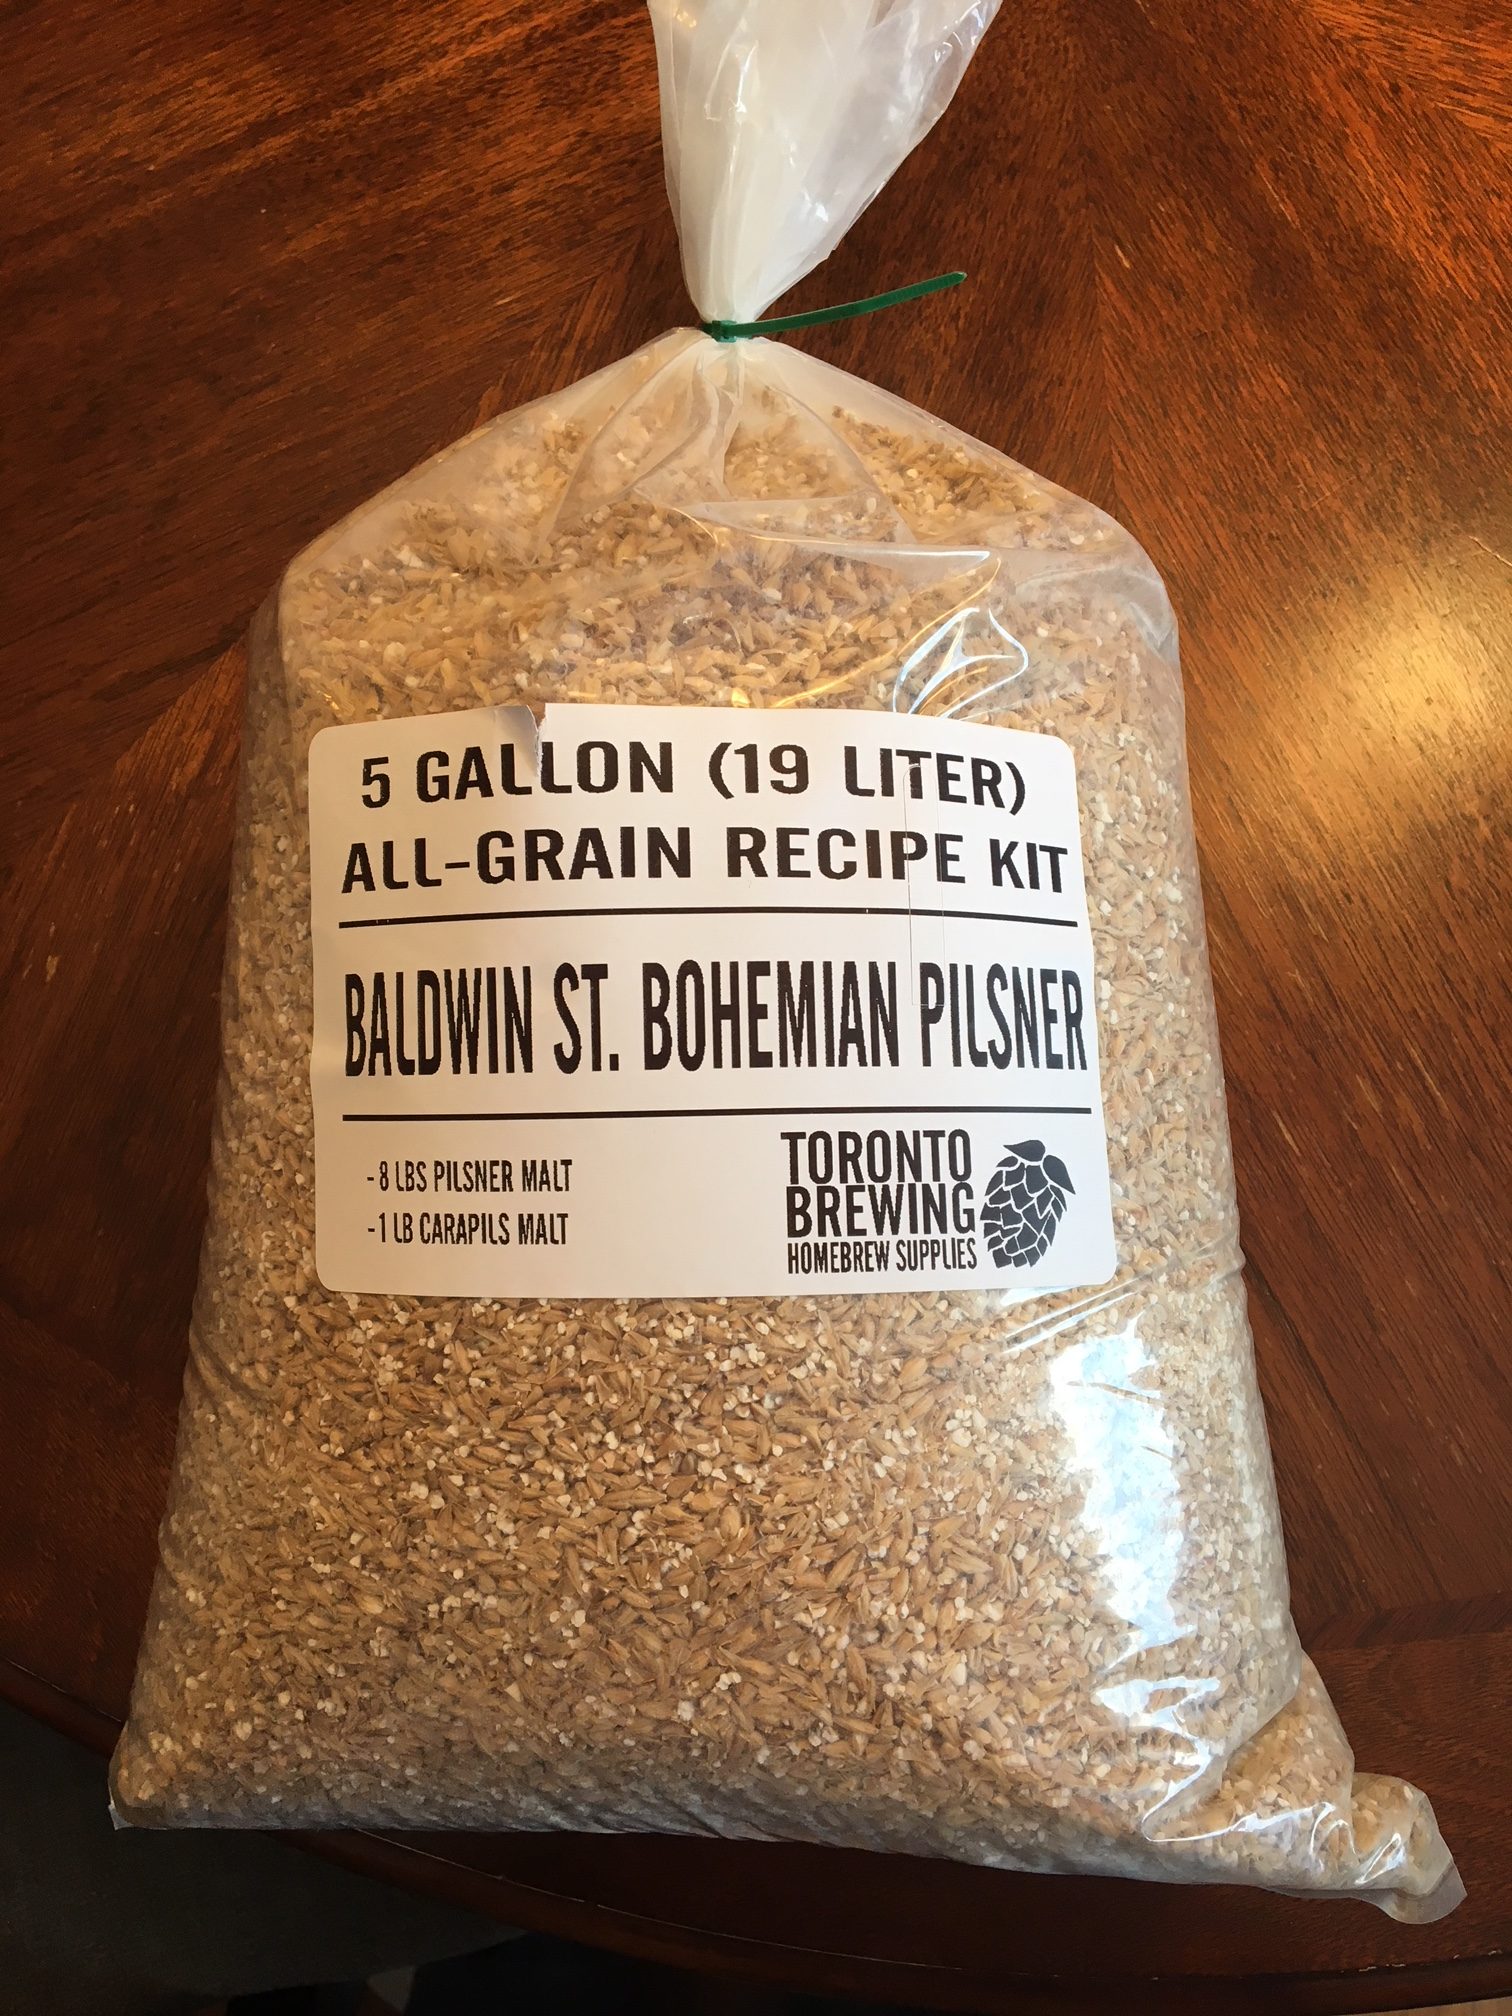
To see the full recipe for Baldwin St. Bohemian Pilsner check out my recipe post here!
Step 0: Clean everything
Seriously, everything! This is one of the most important steps in homebrewing because the last thing you want is to introduce an infection into your beer. Not only will this skunk it and make it taste terrible but it’s probably not ideal for you to ingest either.
From this point forward you can assume that everything that touches the beer has been cleaned and sanitized :).
Step 1: Prep Yeast
Depending on the type of yeast you’re using you may have actually needed to start this earlier (in the case of a starter) or later (in the case of dry yeast). For this brew day I had a “smack pack,” a package of liquid yeast that contains a nutritional starter for the yeast to wake up to.
The way this works is you take the package out of your refrigerator, give it a hard smack on the nutrition pack to break it up and get it going and then set the yeast to the side to come to room temperature and start to ‘come alive’. During this time the package will also expand a bit which is perfectly normal.
Step 2: Mash
The Mash step is the process of converting the fermentable grains into wort that can then be boiled to eventually turn into beer. For this particular recipe my target mash temperature is 152°F / 66.5°C. In order to hit this I need to pre-warm the mash tun, and also take into consideration the grain temperature so that I end up at my target.
Pre-heat Mash Tun
This is one of the more easy tasks in homebrewing. Simply bring around 1.5G / 5.7L to a boil and pour it into the mash tun. Close the lid and let it sit for about 10 minutes or so. This “pre-heats” the mash tun so that the remaining calculations will be correct.
Calculate Strike Water Temperature
Next thing we need to do is calculate how hot the strike water, the water that will be used to soak the grain, needs to be. In order to get this right we first need to take the temperature of the grain because that will impact our overall temperature when added to the water. Once you measure that, the website Brewgr has an excellent tool that makes this calculation easy. In my case, with 9lbs / 4kg of grain at 68°F / 20°C and my target temperature of 152°F / 66.5°C I needed to heat my strike water to 164°F / 73°C.

The recipe that I was following called for 3.5G / 13.3L of strike water. Once I had the strike water heated to my calculated temperature I drained the pre-heat water from the mash tun (keeping it for use as my sparge water later) and added the strike water to the mash tun. I then slowly added in my crushed grain and gently stirred it so that it was completely saturated and no clumps were left. After I was sure everything was mixed well I took a temperature reading to confirm that it matches my target mash temperature. Thankfully I was right on!
Finally I let put the lid back on and let it sit for 60 minutes.
Sparge Away
Just before the 60 minutes was up I began to heat up my topped up 5.5G / 20.8L of sparge water to my recipe’s suggestion of 170-180°F / 77-82°C. After the 60 minutes was done I added about half of that water to the mash tun and mixed it well into the grain.
Next I wanted to recirculate the water from the mash tun very slowly in order to build a nice grain bed at the bottom. The important part about this step is to go very slow, don’t just turn the valve on completely because then the grain will get quickly sucked to the bottom and you may end up with a stuck sparge. Instead very slow open the valve and begin to drain water until it begins to run clear – the first bit will contain some of the grain itself. You may need to fill 2 or 3 cups until you get it to run clear; anything you do drain at this point can be slowly poured back into the top of the mash tun.
Once it is running clear you’ll want to attach a hose to your mash tun and begin to drain it into your kettle. Don’t do what I did (let it fall with gravity) because this may introduce oxygen which can change the flavour of your beer.
Once it stops draining, close the valve and repeat the steps again with the remaining sparge water (including the mixing and re-circulation steps). When all of the wort is transferred to the kettle it is time to start boiling!
Step 3: Boiling
Now that everything was in the kettle I wanted to bring it to a rolling boil. Depending on your setup this step may be easy (propane heater or gas stove) or difficult (electric stove). Either way you want to be careful, wort goes through what’s known as a heat break around which it might get a little crazy and boil over. You definitely don’t want that to happen because of the mess it would make so be sure to watch it carefully until you achieve that consistent rolling boil.
For my setup, the aforementioned “difficult” electric stove version, I found that I needed to set my element to the max setting. I also recorded when I saw the heat break (around 210°F / 98.9°C) and when I finally got to a rolling boil (around 212°F / 100°C) although your experience may be different.
For this particular recipe I needed to maintain my rolling boil for 90 minutes.
Hops Away
Depending on your recipe it may be time to add some hops once you reach a boil. In my case the hops times were 60 minutes, 30 minutes and 5 minutes which means I didn’t add any hops until 30 minutes into my boil (which would be 60 minutes from the end of my 90 minute boil). I also added more at one hour (30 minutes from the end of the boil) and 85 minutes (5 minutes from the end of the boil).
Prepare for the Cool Down
About 15 minutes before the end of the boil I started getting ready to cool the kettle. Unfortunately I don’t have one of those fancy immersion or plate chillers so my method was to simply fill a sink with cold water.
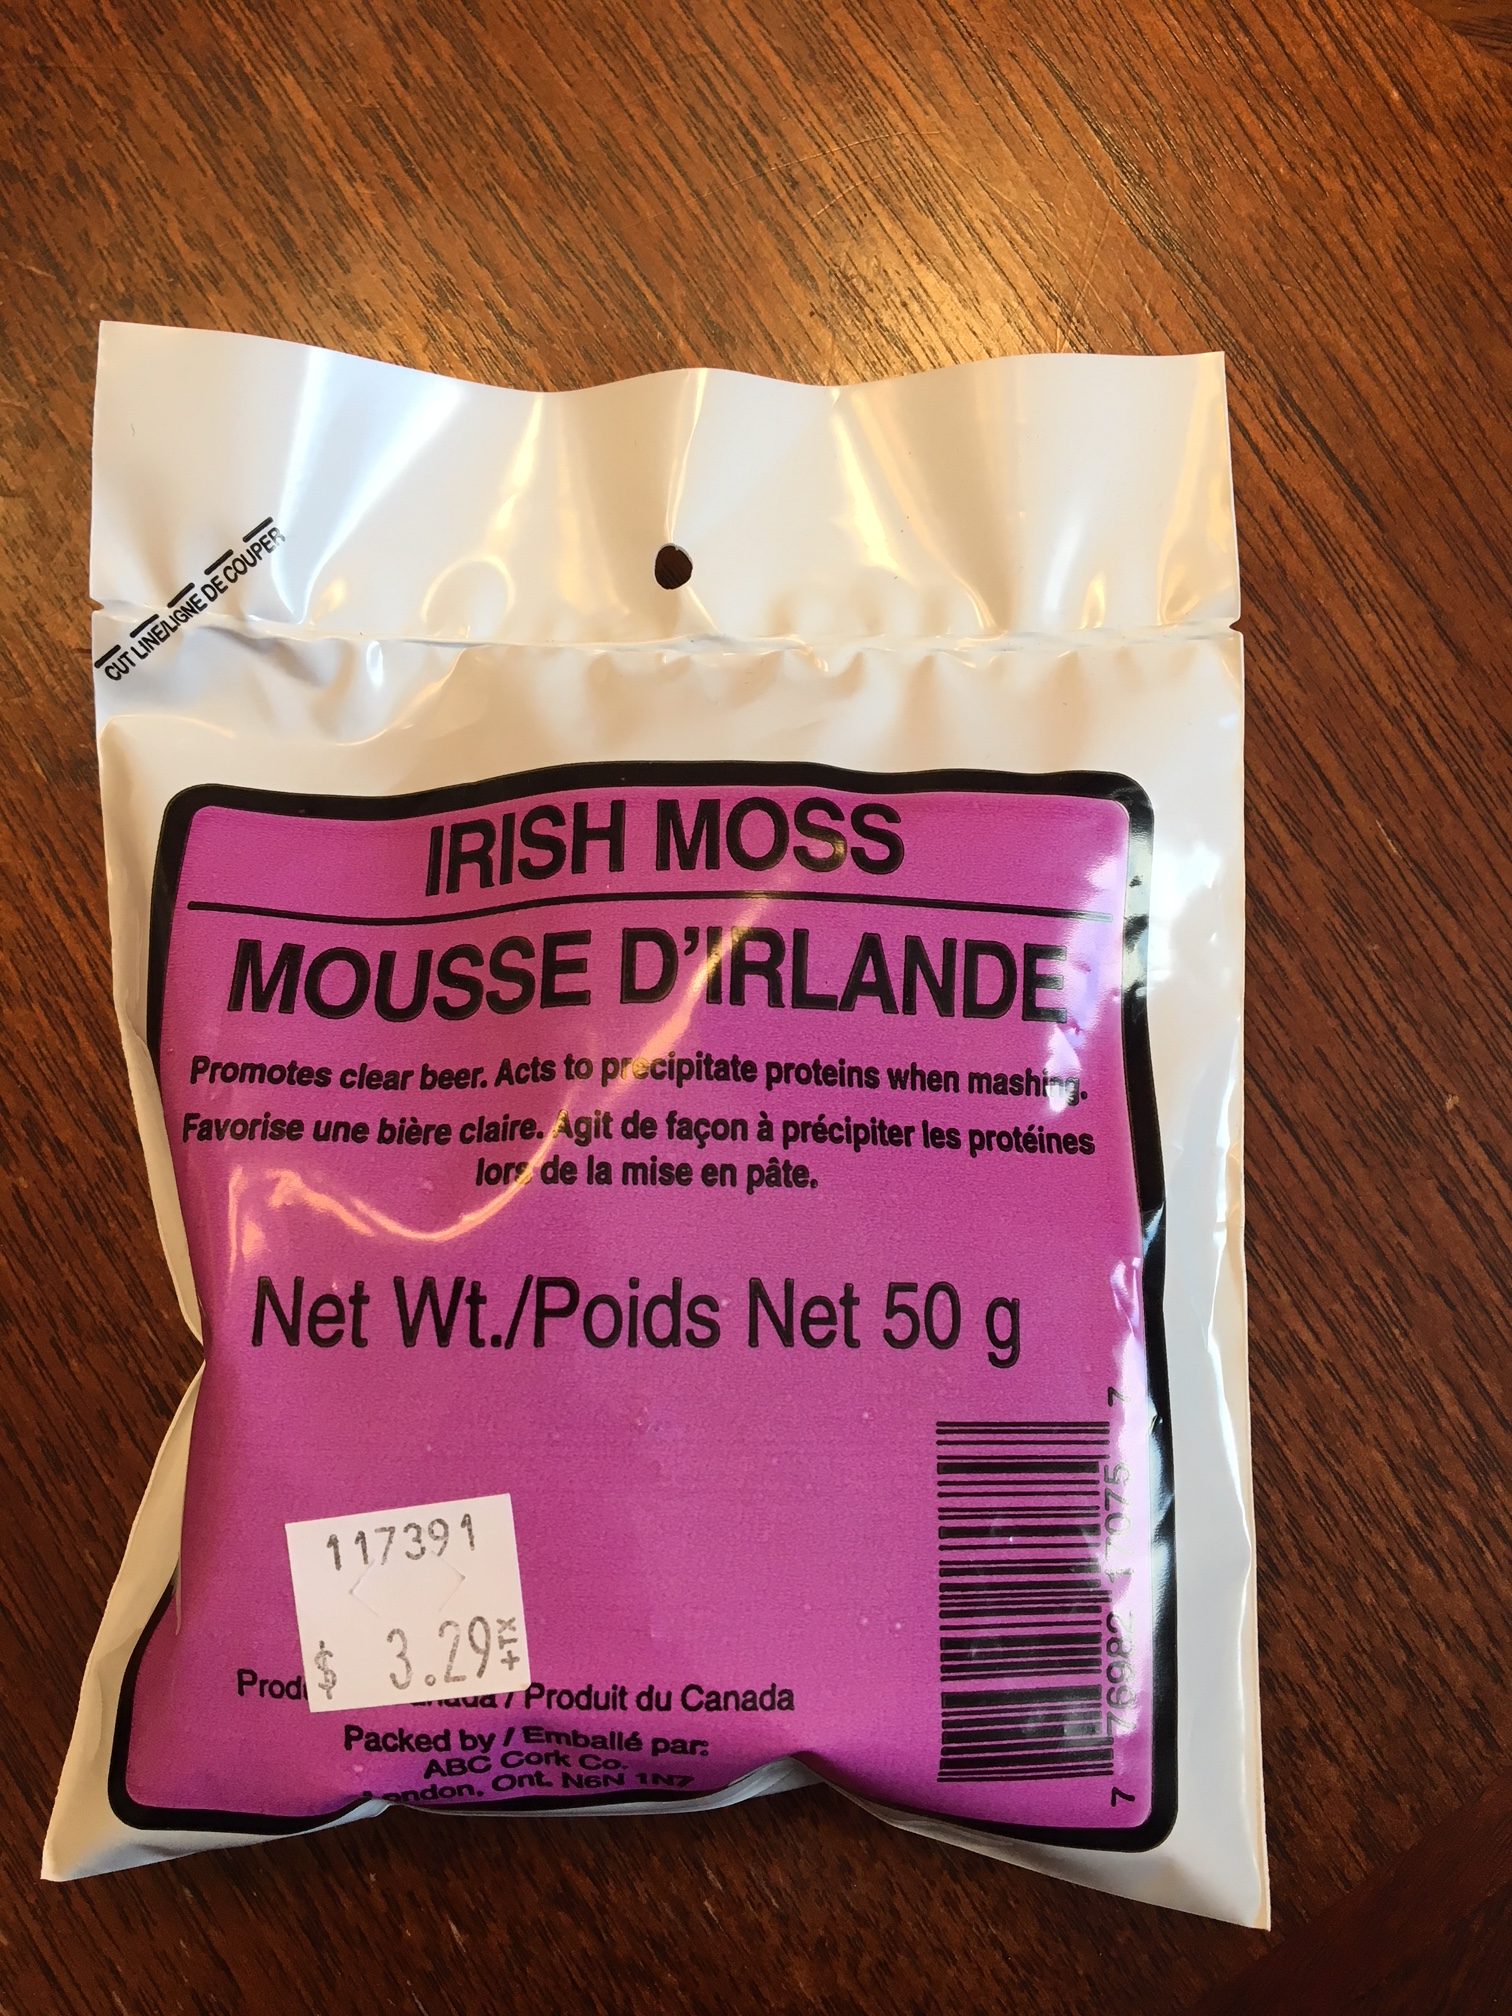
It was also at this point that I added some Irish Moss to the boil which, like whirfloc tablets, is supposed to help with beer clarity. The amount of Irish Moss I added was equivalent to 1tsp per 5G / 18.9L.
Chill Out
It is also important to note that anything coming into contact with the beer after this point must be sanitized. Once the beer is no longer boiling it must be protected against bacteria and infection.
With the boil completed I placed the kettle into my cold water bath and allowed it to begin chilling. Once the side of the kettle became cool enough that I could touch it I emptied the now warm water from the sink and refilled it with more cold water. I also added some ice into the water bath to bring the temperature down even quicker. The goal here is to cool the kettle down to at least 80°F / 26.7°C or colder.
It is at this point that you also want to take a sample so that you can do your specific gravity reading in order to measure your original gravity (OG). Just be sure to cool the sample to 60°F / 15.5°C because this is what most specific gravity measurements are calibrated against. My recipe had an estimated OG reading of 1.051 but my reading was actually 1.06 which either means I had a somewhat different mash efficiency (the recipe is based on a 75% efficiency) or I ended up with less water after my boil than expected. Ah well.
Step 4: Fermentation
Now that the liquid temperature is cool enough I wanted to transfer it to my fermentation vessel. This is another time when you’ll want to try to avoid adding a lot of oxygen so using an auto-siphon or slow flowing valve with tube is ideal.
I moved the kettle into a position higher than my primary fermenter and with a sanitized spoon slowly stirred around the outside of the kettle to try and create a “whirlpool” to get everything solid into the center of the kettle. I then let it sit for a few minutes to become still. Finally I inserted my sanitized auto-siphon into the kettle and placed the other end of the hose along the side of the fermenter so that it didn’t splash when it drained.
With everything in place it’s as simple as priming the auto-siphon and letting it do its job.
Pitching Yeast
With everything in the fermenter it was time to “pitch” the yeast. I took the yeast package that I had started to prepare before anything else and soaked it in sanitizing solution. I did this so that nothing on the package would make its way into my beer. Once sanitized I opened the package and added (“pitched”) the yeast. At this point it’s recommend to add some oxygen into the liquid in order to help motivate the yeast which I did by slowly rocking the bucket back and forth for a bit.
Finally I prepared my airlock with sanitized water and added the lid to the bucket (taping it down so that it wouldn’t fall off when I moved it), and placed it in a cool dark part of my basement in order to try and meet the recipe’s recommended fermentation temperature of 50-60°F / 10-15.5°C.
Huzzah! I made beer!
Step 5: Cleaning up
This one is pretty obvious but there is quite a bit to clean up after a successful brew day. Still it’s not that bad…
For not really knowing what I was doing I think my first brew day turned out alright 🙂
Follow this brew story:
4 Comments Add yours